

Print Job Failed? Here’s How to Make It Work
Paper jams are one of the most common—and frustrating—printer problems. Just when you're about to hit a deadline or print that important document, your printer stops mid-job with a blinking error. Luckily, most paper jams are easy to fix once you know what to look for.
This step-by-step guide will walk you through why paper jams happen, how to safely clear them, and what you can do to avoid them in the future.

What Is a Paper Jam?
A paper jam occurs when a sheet of paper gets stuck inside the printer, interrupting the normal flow of printing. The machine might stop completely, flash a warning, or display a message like:
- "Paper Jam Detected"
- "Clear Paper Path"
- "Load Paper Correctly"
Ignoring it or forcing the paper out can cause damage. So, let’s handle it right.
Why Paper Jams Happen
- Paper not loaded properly – Slanted, overfilled, or misaligned stacks
- Using the wrong type of paper – Heavier or glossy sheets not supported
- Dust or debris inside – Interrupts paper rollers or sensors
- Worn-out rollers – Can’t grip the paper properly
- Torn or folded pages – Catch easily on internal components
- Too many sheets pulled at once – Printer grabs more than it can handle
Step-by-Step: How to Fix a Paper Jam
1. Turn Off and Unplug the Printer
Safety first. Unplug your printer and wait for it to cool if it’s been running. This prevents any electrical mishaps and gives you better access to internal parts.
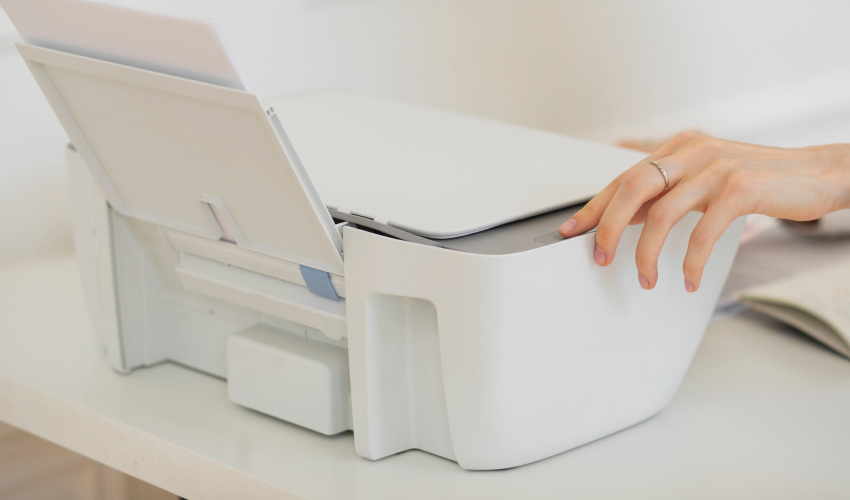
2. Open All Accessible Panels
Check both the input and output trays. Most printers also have a rear access panel or a top cover. Open everything slowly and carefully to locate the jammed paper.
3. Gently Remove the Jammed Paper
- Pull the paper in the direction it normally feeds
- Avoid tearing it—any small leftover bits can cause another jam
- If it resists, check for rollers holding it or use both hands to ease it out
4. Check for Remaining Scraps
Even a tiny piece of paper stuck in the rollers can cause future jams. Inspect all corners, especially near the rollers and paper tray, and remove any leftover scraps.
5. Reset and Test the Printer
- Close all covers securely
- Plug the printer back in and turn it on
- Print a test page to make sure everything is working properly
Preventing Paper Jams in the Future
- Always use the recommended paper size and type
- Fan and align the paper stack before loading
- Don’t overload the tray—stay within capacity
- Store paper in a dry place to prevent moisture curls
- Clean printer rollers occasionally to remove dust or residue
- Avoid using damaged or folded paper
Final Thoughts
Paper jams might seem like a hassle, but they're usually simple to fix when you take the right steps. Staying calm, following the printer's layout, and using proper paper will go a long way in keeping your printer running smoothly.
